
Fitting the Camera in position:-
One of the most useful things that the Highline could be used for these days is as a reversing camera. Finally figured out how to wire it in after accepting the fact that the “toys in your car” option of a simple plug and play loom seems permanently out of stock.

Theoretically all I need is 3 extra pins for the video plugs and a relay …… and of course a camera that operates on NTSC. Total cost about £15 including the camera compared to the “toys in your car” £50 plus the camera.
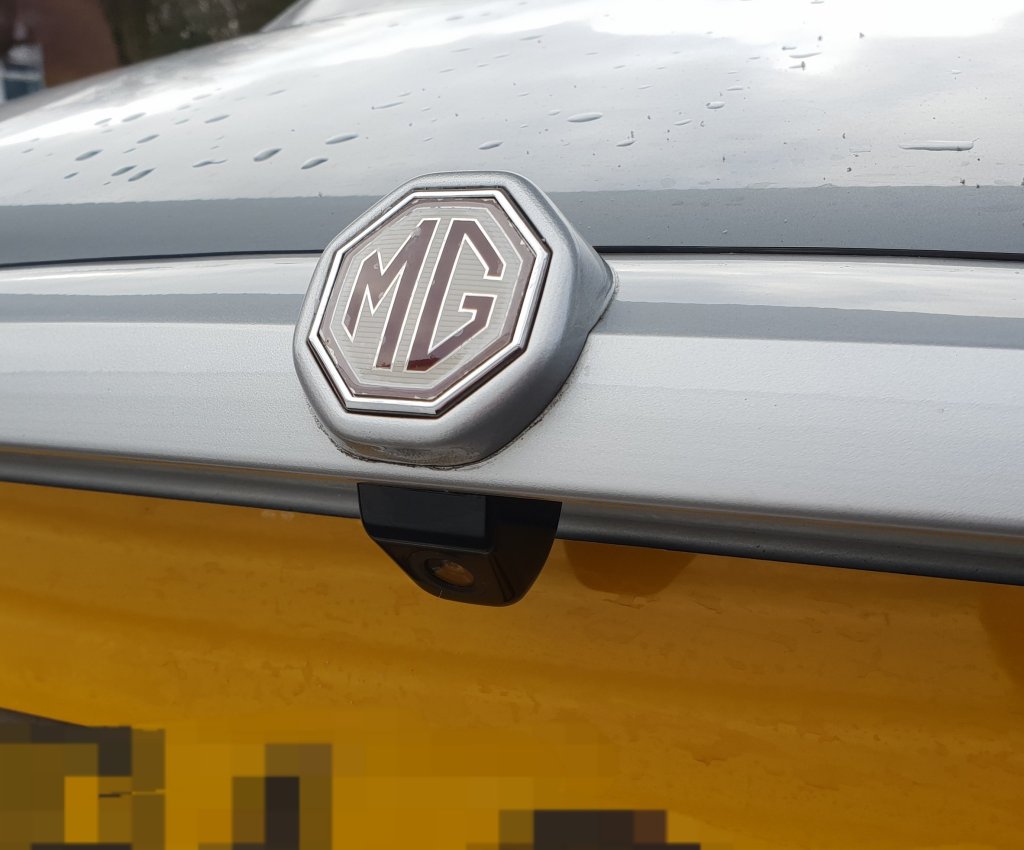
The first stage is to fit the camera in place, then thread the wiring through the boot cable duct to the video unit, then finally wire up the relay and camera cable into the blue and white video plugs.


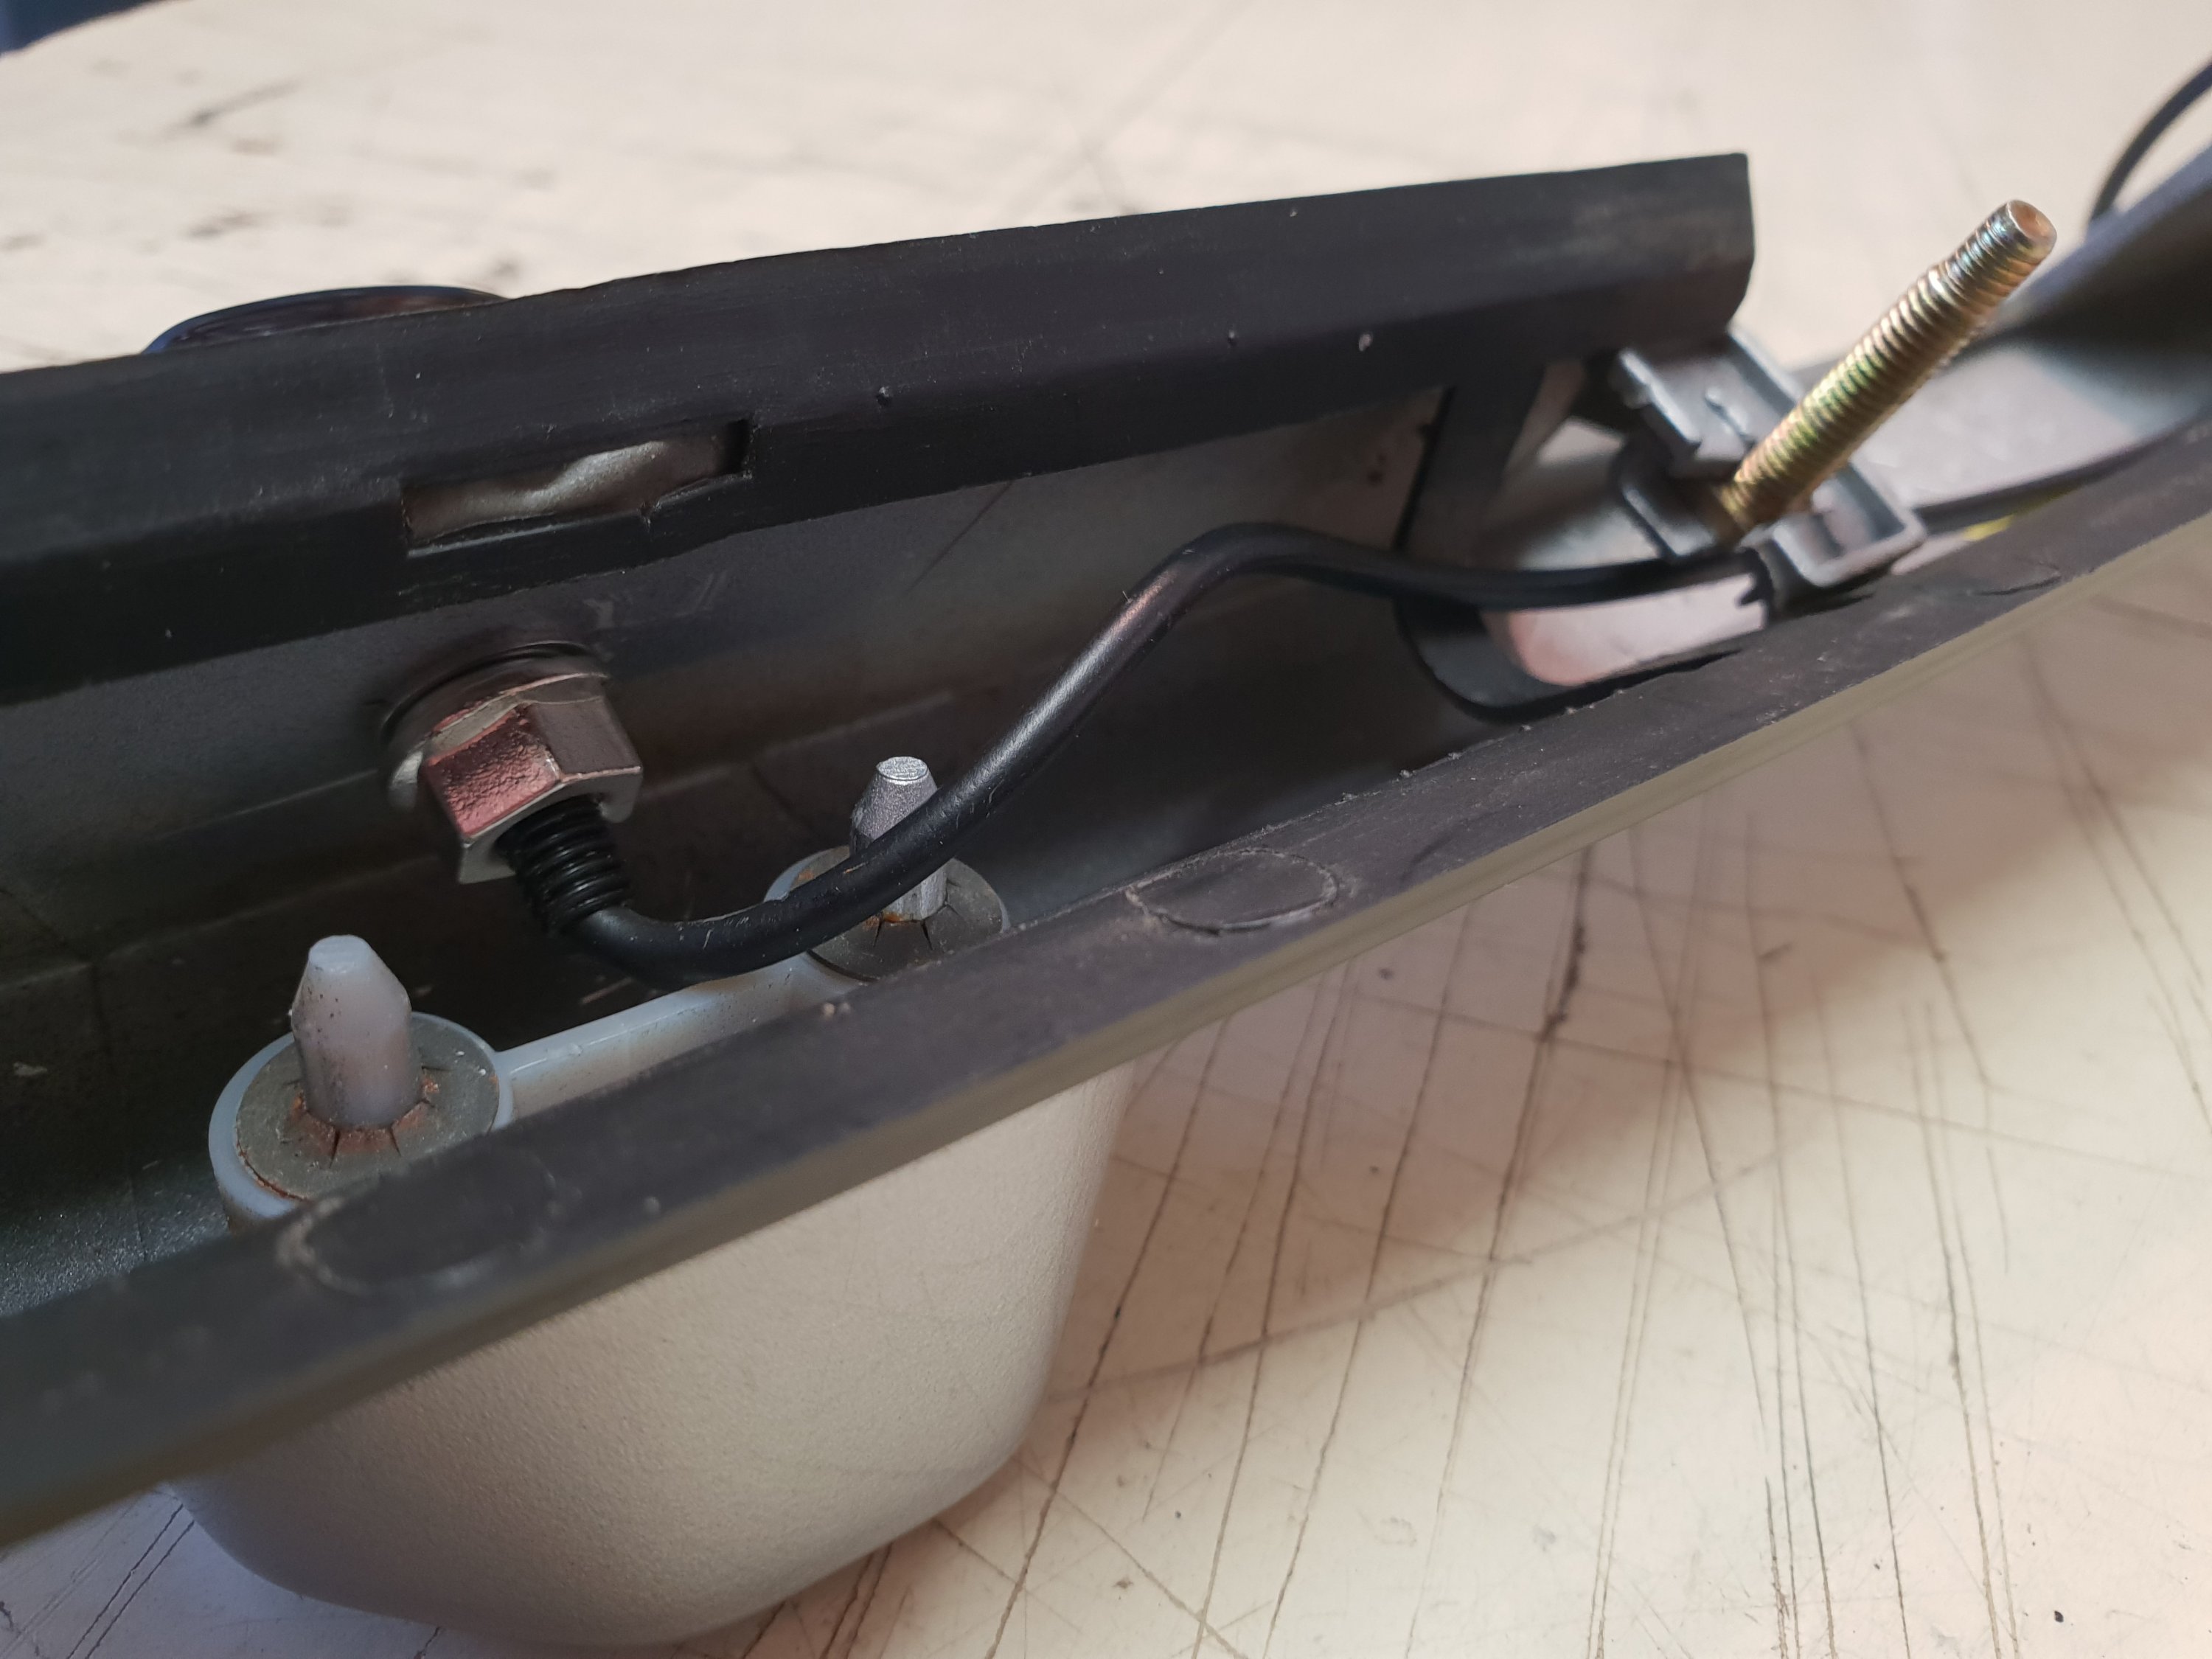
The number plate light moulding is held in place by 4 nuts which are easily accessible from under the boot lid once the fibre inner cover is removed. I drilled a hole beside one of the fixing screws so it would be easy to thread through and to reach from the inside.


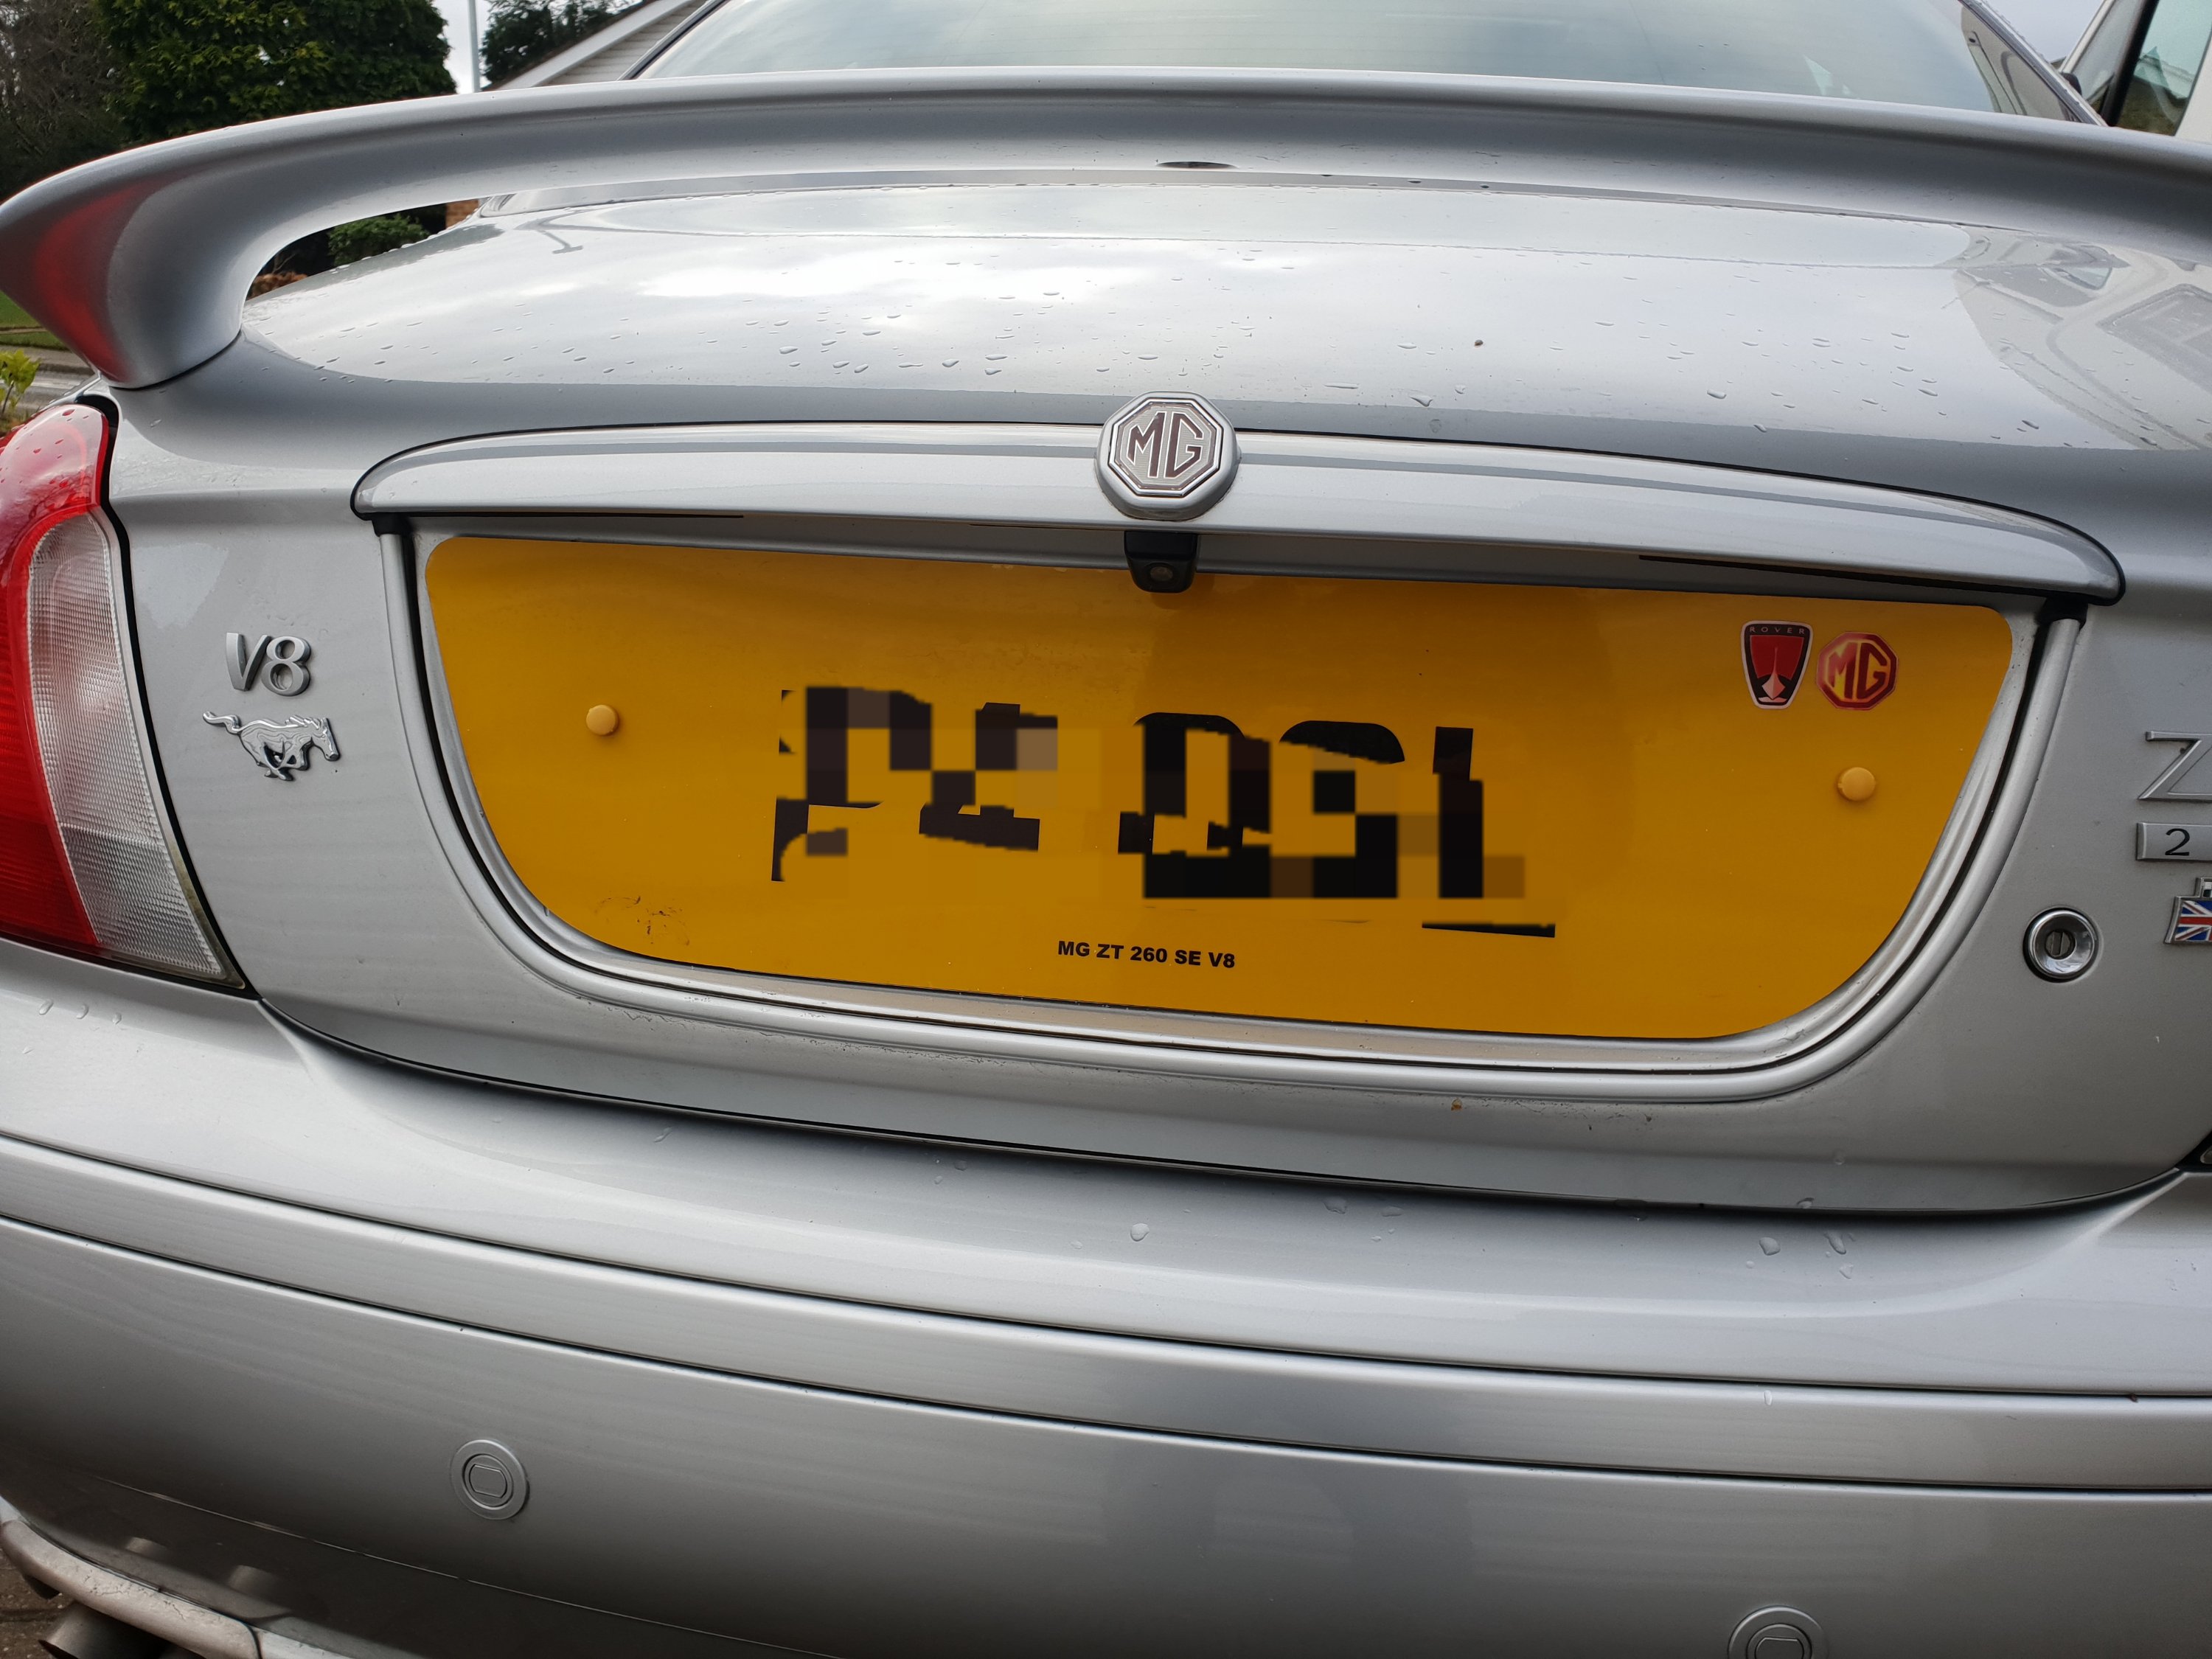
Reassembled the parts and so first stage done …….. looks good.
See:-
Fitting a Reversing Camera – Part 1 installing the camera into position
Fitting a Reversing Camera – Part 2 wiring in the camera
Fitting a Reversing Camera – Part 3 wiring and fitting the trigger relay
Fitting a Reversing Camera – Part 4 soldering the additional pins ready to fit
Fitting a Reversing Camera – Part 5 fitting the additional pins into the plugs, test and play!
Fitting a Reversing Camera – Part 6 buy the additional terminal pins and RCA socket on eBay

5 Comments
Comments are closed.