
The made up loom tested and ready to fit in the car. I am using the replacement bm24/bm54 adapter loom and tapping on the additional wiring for the ULF, mic and pairing button. The coiled wires take the mike and pairing button to the front.

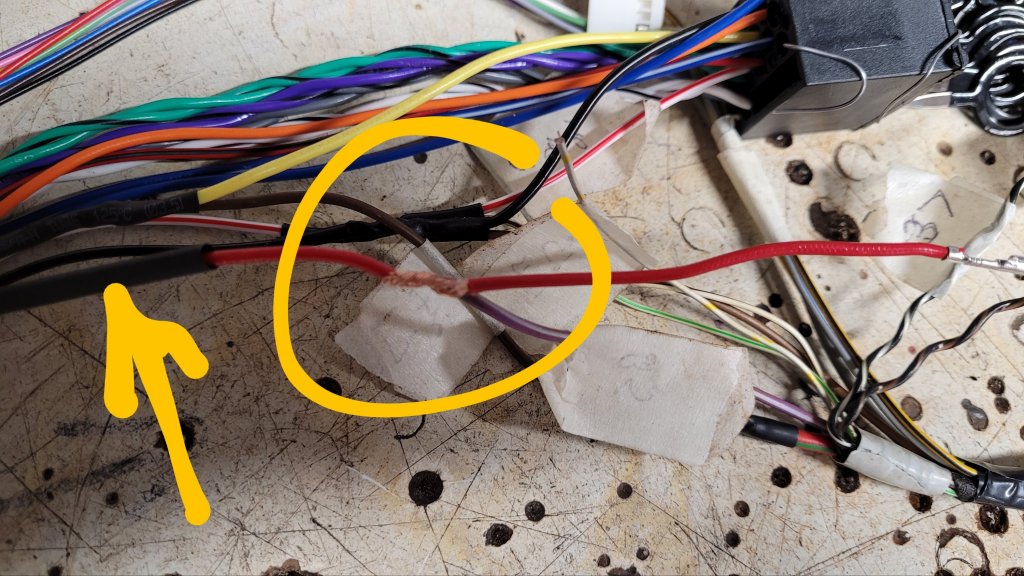
Following the wiring sequence / pinout tables as shown in previous posts the loom took shape. I removed each wire to be tapped into from the bm54 end of the adapter, slid on a cable shrink, stripped a 10mm section of the wire to expose the core, wrapped the stripped end of the new section, soldered and then covered with the heat shrink.

I followed instructions I found on the Web as per previous posts but an important point to mention is that pins 6 and 12 on thy C plug into the bm54 do not exist on the original loom and so the terminal pins need to be added (most likely found in some spare wiring as they are a common size – alternatively they are the same terminals I used in making the reversing camera relay ….. see a previous project).

Once the loom was made up I double checked all the wiring pinouts with a continuity tester prior to fitting.

The loom is based on a bm24 to bm54 adapter cutting and soldering joints into the wires between the 2 plugs based on the pinout connections above.
I have since found a good “how to” for building a ulf loom from scratch see …… https://forums.m3cutters.co.uk/threads/custom-diy-oem-bluetooth-install-for-thoses-who-dont-want-to-donate-a-kidney.2218/
All posts on this project:-
E39 Very Affordable Bluetooth Retrofit
Parts to make a ULF loom
Making the bluetooth ULF telephone loom
Loom installed ready for the ULF Module
ULF telephone system installed
Pairing and using the ULF phone

4 Comments
Comments are closed.