
I’ve had the donor seat for some time now see …… https://mgzt.info/2022/11/10/memory-seat-conversion/) so nows a good time to swop out the memory parts, the motors and loom into my original seat. I removed the rear bolts first then the front bolts. I then disconnected the battery before disconnecting the airbag plugs.
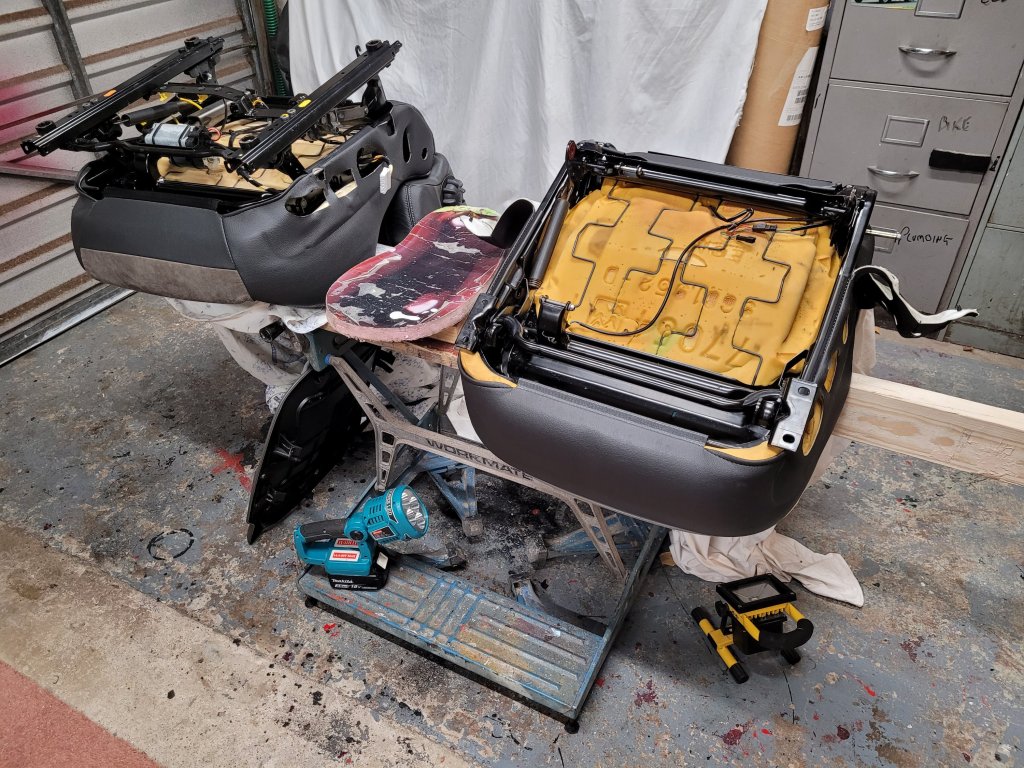
Care was taken to support both seats base facing upwards so that the seat material / bolsters are not damaged.
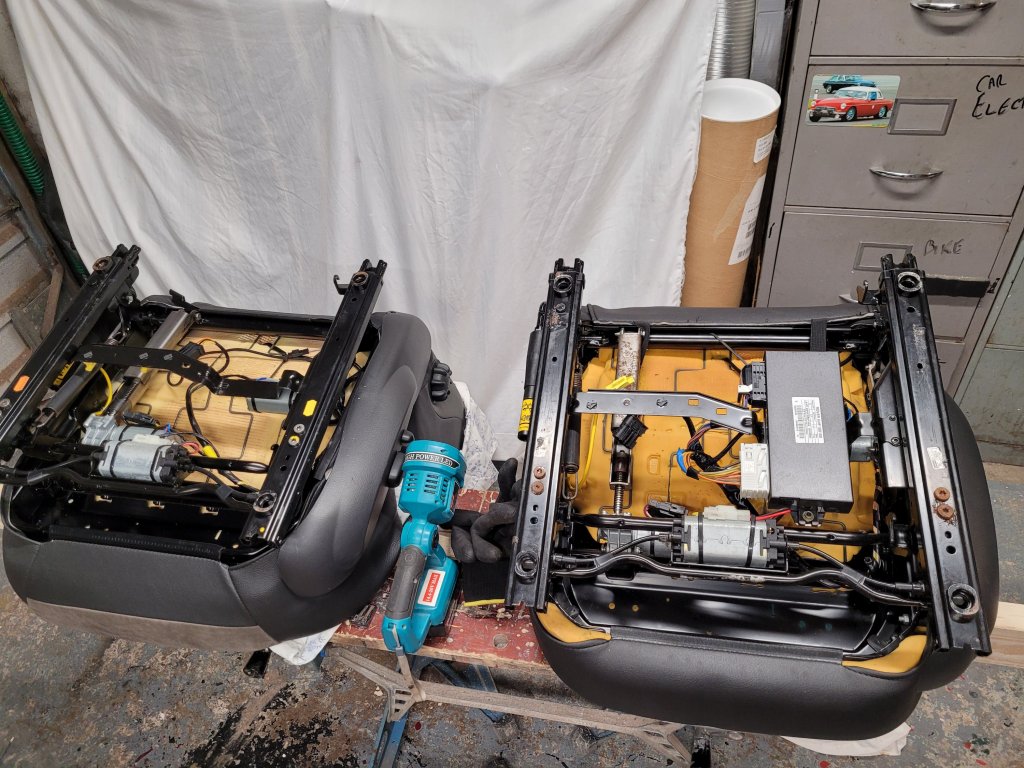
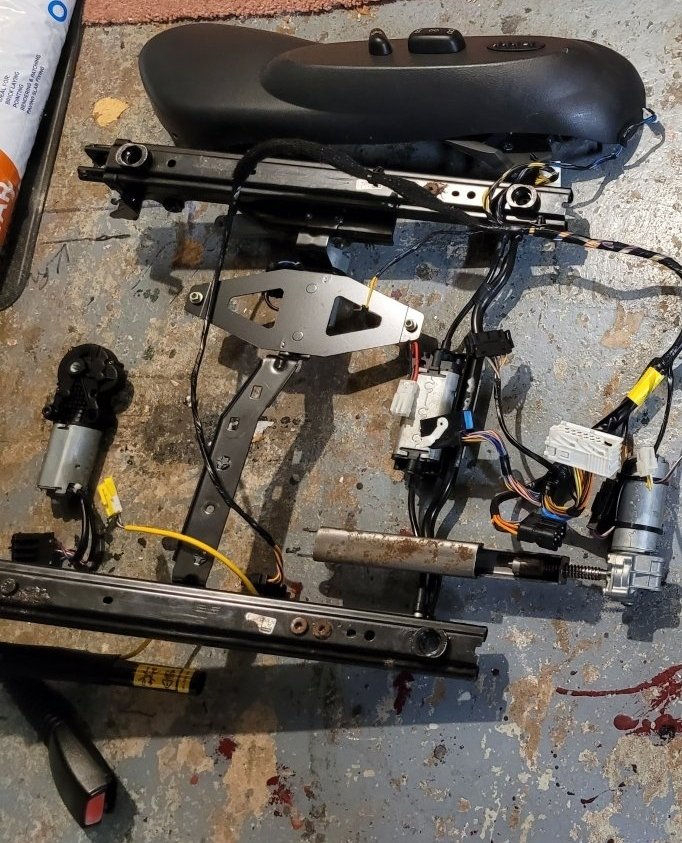
It was a matter of taking loads of photos whilst dismantling to refer back to during rebuilding. There are like 3 assemblies to remove – the largest is the runner assembly held in by 3 nuts on each side comes off with 2 of the motors (after disconnecting wires etc), the height motor plus linkage and the back rest motor, then the loom. The trickiest motor to swop is the back rest motor that is located at the base of the back rest …. a real knuckle bruiser! But after a lot of fiddling it came out OK.
Prior to starting the job best to make sure both seats are adjusted roughly the same especially the back rest angle. Be careful when removing a couple of the spring washers …… they go flying – but fortunately I found it again. When reassembling the runner assembly fit the 2 nuts on each side first to prevent the drive cables falling out ….. they simply push back on but best to prevent by fitting those 2 nuts first.
Handy tip before starting is to remove the top screw holding the side controls panel in place tucked beneath the back adjuster knob by putting the back rest down as flat as possible to gain better access. Put it back up again once removed.
I put extra ties around the socket mounts on the base to minimise any loom movements to prevent the airbag plugs causing the warning light to stay on. I put vaselene on the pins of the airbag plugs as suggested by others on the forums to maintain good contact.

To remove the pocket panel on the back of the seat …… it is very easy to break the lugs but I used the advice in the link below and all lugs came off intact. https://www.the75andztclub.co.uk/forum/showthread.php?t=60562
The job took me a couple of days on and off but I guess with an early start could be done in a day. Think the hardest part was removing the seat to floor bolts (T45s) – if a car has had a water leak in the past and these were rusted them even harder
A lot easier to add a memory seat if you can find a decent MGZT seat with it already fitted but usually the bolsters are badly worn …… mine are good (only done 22k miles).
